How To Install A Turbidity Curtain
Turbidity curtains, also known as silt curtains, are floating barriers that are crucial for environmental protection during marine construction and dredging projects. They act as temporary barriers, controlling the movement of silt and sediment and preventing it from polluting the surrounding water. A successful turbidity curtain installation requires proper planning and implementation. Be sure to tell us about your project. Our team can insure that you have the right curtains and anchoring systems in place for an successful installation. Here’s a step-by-step guide to help you through the process:
1. Preparation and Unloading:
- Site inspection: Before you begin installation of the curtain, you must inspect the deployment area and identify any potential hazards. These hazards may include uneven terrain, submerged objects, or anything else that may damage the curtain or make installation difficult.
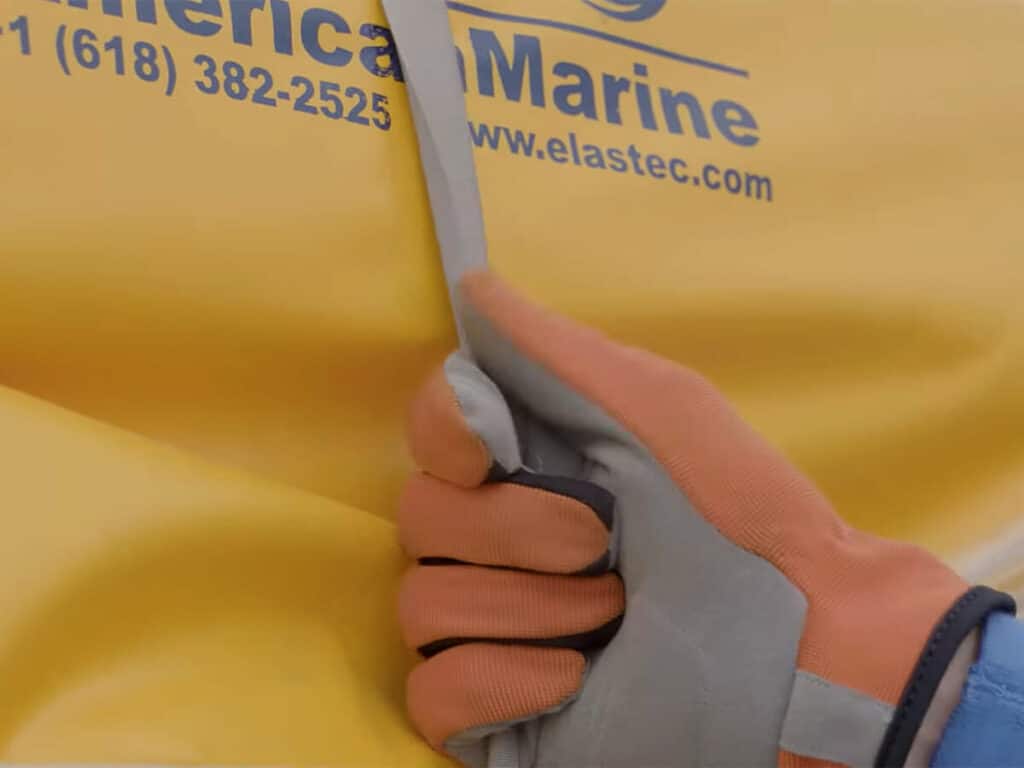
- Unload the curtain: Your turbidity curtain will be shipped on a pallet, shrink-wrapped and bundled together. There will be a 1-inch strap that needs to be cut free from the bundle. Take care not to cut the white reefing twine, or the yellow poly reefing lines. Next, the curtain should be unbundled and laid as close to the water as possible.

2. Connecting the Turbidity Curtain Sections:
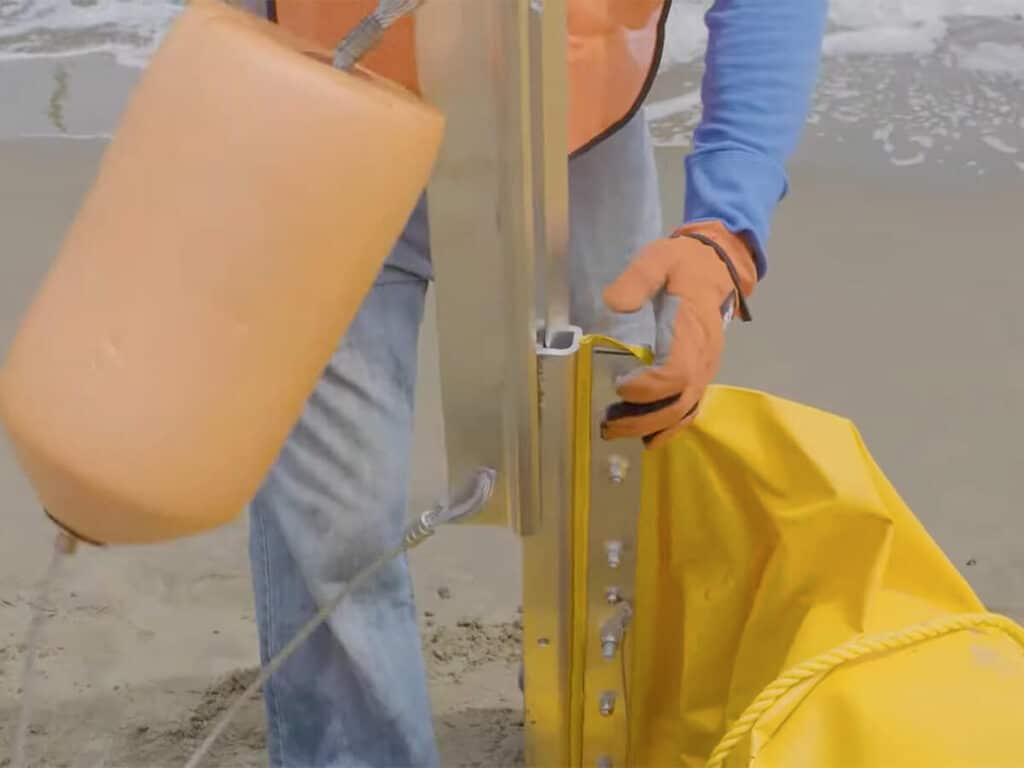
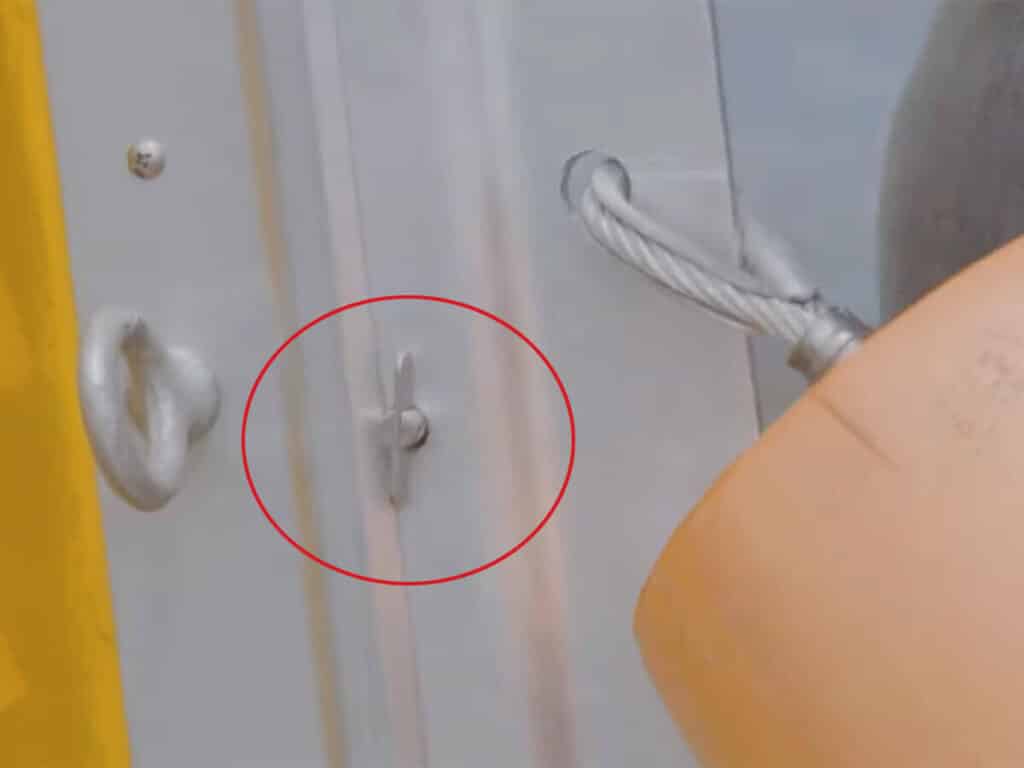
Your turbidity curtain will come equipped with aluminum slide connectors. When connecting one section to another, you will slide the aluminum connector into the other connector, pushing the toggle pin through the connectors to hold it in place. Then you’ll open the curtain just enough so that you can access the grommets and will use heavy-duty zip ties to cinch the grommets together all the way down the depth and then once we are at the bottom, connect the hook to the ring.
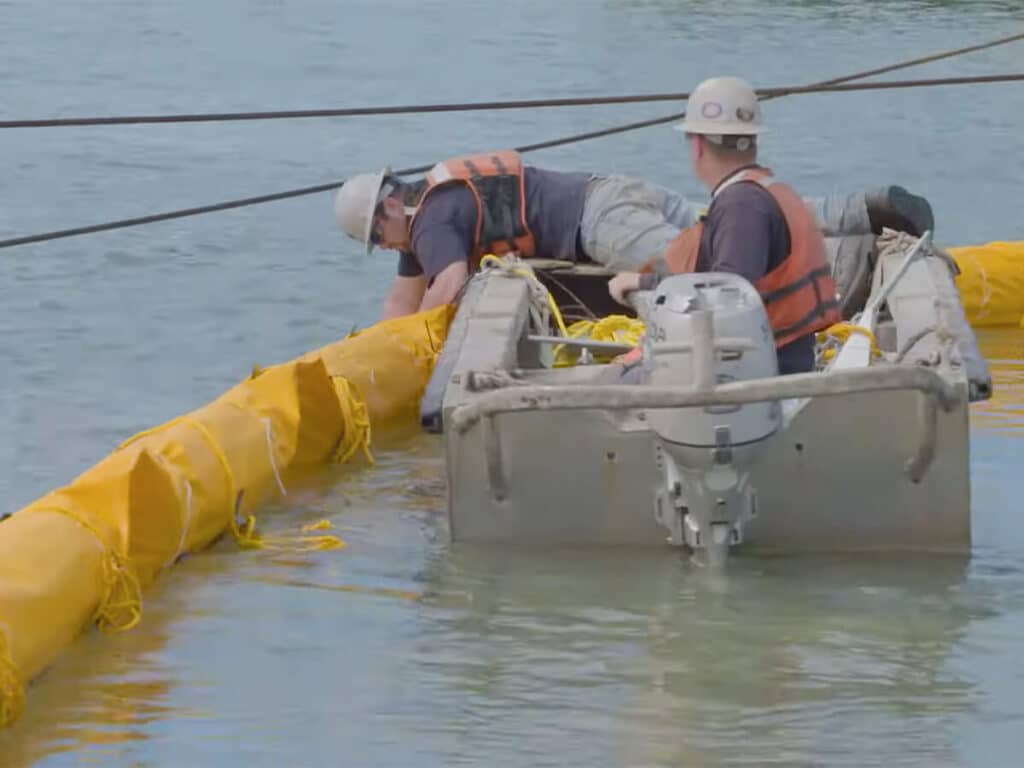
3. Deployment:
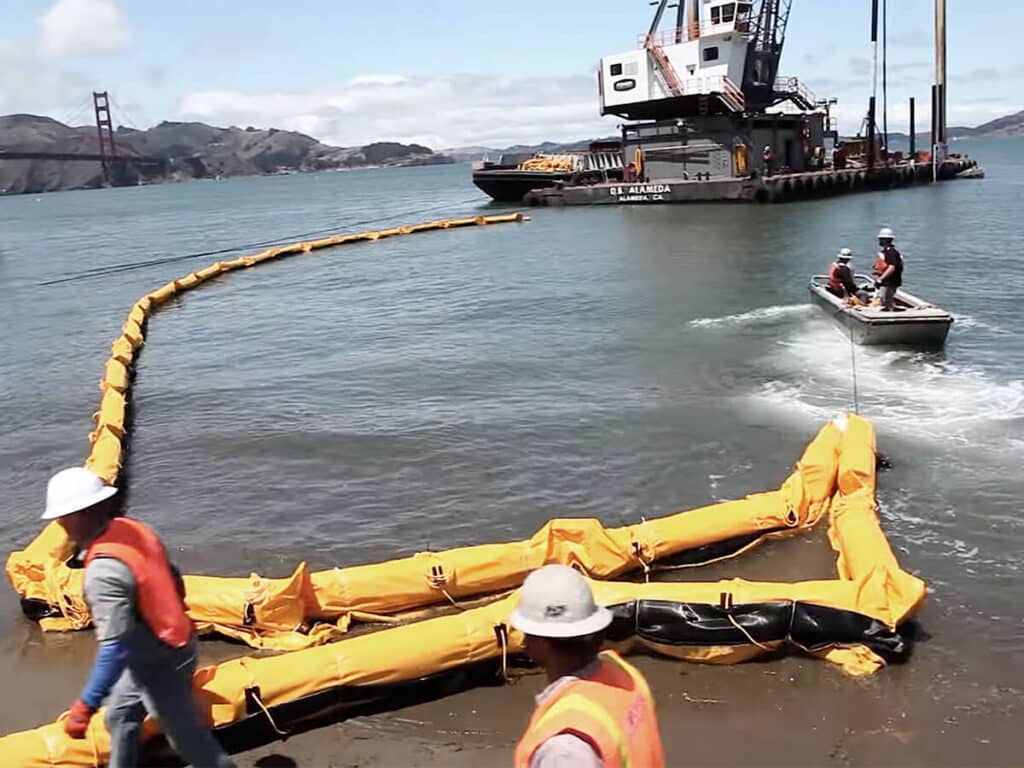
Once you’re ready to pull the curtain into the water, attach to the shore anchor point and feed the barrier to your deployment boat, trying not to drag the curtain along the shore. Once the curtain is in place secure it with anchor lines. These lines are typically attached to the curtain and fixed to anchors with buoys. Once the curtain is anchored, the last step will be deploying the curtain by cutting the reefing twine. The curtain will drop down to depth.
4. Additional Considerations:
- Water depth and current: Choose a curtain with an appropriate length to reach the desired depth and consider the water current strength when selecting type of curtain you will need. Elastec’s experts can recommend a Type 1, Type 2, or Type 3 curtain based on the details of your project. We also offer some models of Type 1 turbidity curtain in-stock and ready to ship from our online store.
- Environmental regulations: Always consult with local authorities and environmental agencies to ensure your turbidity curtain installation complies with all relevant regulations.
By following these steps, you can ensure the successful installation of a turbidity curtain, safeguarding the surrounding water body from silt and sediment. Tell us about your project.
TURBIDITY CURTAIN QUESTIONNAIRE
In order that we may recommend the best Turbidity Curtain for your project, please provide the following information. We have included some questions that will help us better understand your needs. Please answer as many as possible. If the flow rate is high, Elastec can provide modeling data to determine anchor spacing and feasibility of systems.